Installation Instructions
Preparations
- Check that the requirements are met.
- Make sure that LIP is installed in order to easily install the add-on. If LIP is not installed, you need to manually download the LIP zip file and extract the files necessary from it.
Installation in Lime CRM
Base Version
This section describes what needs to be done in Lime CRM to set up the integration.
- Enter the VBA editor in the desktop client and run
lip.Install "erpconnector-order"from the immediate window. - Add
ControlsHandlerOrderto the VBA Class ModuleGeneralControlsHandler, as shown invba\GeneralControlsHandler.txt. - Compile and save the VBA project.
- In LISA: Add the icons for
order,orderrow,dealarticle,articleandarticlegroup. The icons are found in the folderlisa\iconsin the LIP package. If you cannot find the tables in LISA, refresh the browser. - In LISA: Add descriptive expressions for
order,orderrow,dealarticle,articleandarticlegroup. The descriptive expressions are found in text files in the folderlisa\descriptives. - In LISA: Add option queries for
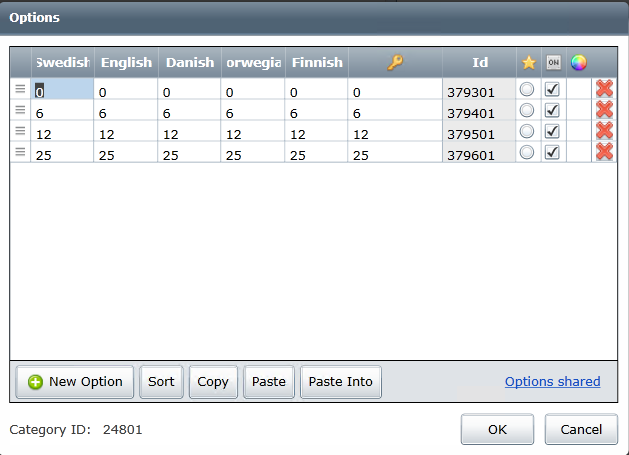
dealarticle.articleandorderrow.article. The expressions are found in text files in the folderlisa\optionqueries. - In LISA: Make sure the suggested VAT levels are set according to the country rules in the options on the fields
orderrow.vatandarticle.vat(they share option lists, so updating one should fix the other). Standard levels for the different countries are found below. - If BL Administration: In LISA: Create a text field of length 32 on the
ordertable, calledpaymentterms. - Either follow the instructions for "Without Backend" or "With Backend".
Suggested VAT levels:
Without Backend
The only situation where this is to be used is in Lime CRM Shared Cloud.
- In LISA: Add SQL on update expressions for fields on tables
orderrowanddealarticle. All expressions are found in text files in the folderlisa\sql_on_update. - Configure the add-on according to the instructions here.
With Backend
This is required to be able to create orders in the Web Client.
- In the customer's solution: Add the limeobject-classes found in
resources/limeobject_classes. - Add
limepkg-erp-orderas a depency in your solution'spyproject.tomlfile. - Build and deploy your solution.
- Configure the add-on according to the instructions here.
Valid VAT levels
| Country | VAT levels (default in bold) |
|---|---|
| Sweden | 0, 6, 12, 25 |
| Denmark | 25 |
| Norway | 10, 15, 25 |
| Finland | 10, 14, 24 |
Including Customizations For Creating Orders Programmatically
If orders are to be created in Lime CRM from another limeobject.
- Set the const
m_classNameat the top of theAO_ERPConnector_OrderVBA module. - Add code to
GeneralExplorerHandler.m_Explorers_BeforeActiveExplorerChanged, as shown in the filevba\GeneralExplorerHandler.txt. - Compile and save the VBA project.
- Copy the
addon_erpconnector_orderfolder in the apps catalog to the subfolder apps in the Actionpad folder. - In the
indexActionpad, add the instantiation of the app (as shown below). - Publish the Actionpads.
- Create Custom Endpoint (post) and add to the customer's solution. Here is where you add the customized logic. Make sure that it is registered as
/create-orders/. See create_orders_template.py under resources. If the customer is a cloud-customer, change the request in app.js to a VBA-call instead and add your logic there.
<div data-app="{
    app: 'addon_erpconnector_order',
    config: {}
}"></div>
Installation of Syncify Service
This is managed by Syncify. Both for on-premise and cloud ERP systems.